
Dibbles: For the Greater Good (mobile)
Platform: Android
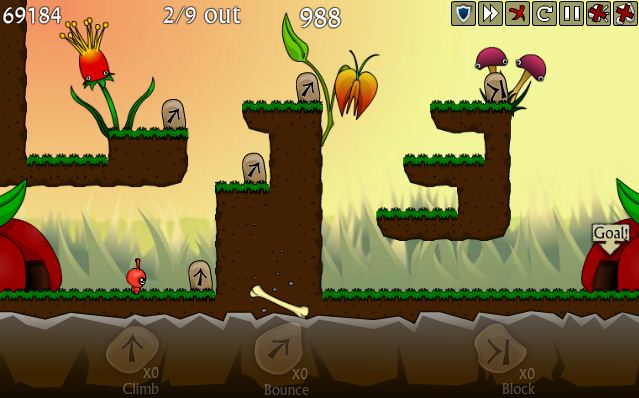
![]() The needs of the many outweigh the needs of the few, right? Or, perhaps more accurately, the needs of the upper classes outweigh the needs of the plebs. No matter how you dice the words, the point is it's ok to sacrifice a few little guys so the bigger, more important ones can survive. The mobile port of the browser game Dibbles: For the Greater Good illustrates just that, providing a charming and intelligent Lemmings-like game that just might make you rethink this whole "needs of the many" business.
The needs of the many outweigh the needs of the few, right? Or, perhaps more accurately, the needs of the upper classes outweigh the needs of the plebs. No matter how you dice the words, the point is it's ok to sacrifice a few little guys so the bigger, more important ones can survive. The mobile port of the browser game Dibbles: For the Greater Good illustrates just that, providing a charming and intelligent Lemmings-like game that just might make you rethink this whole "needs of the many" business.
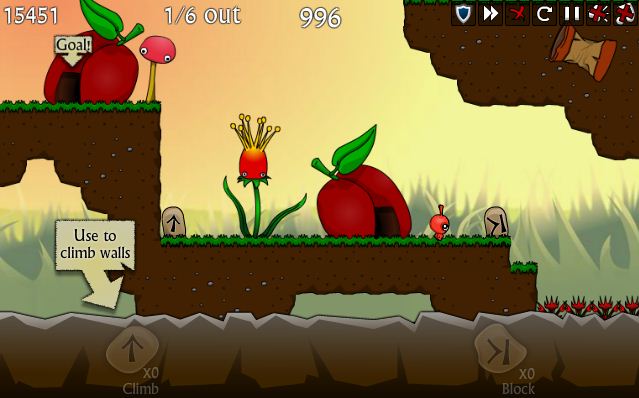
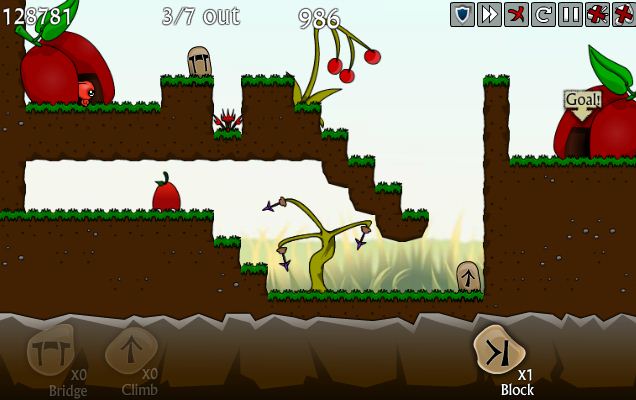
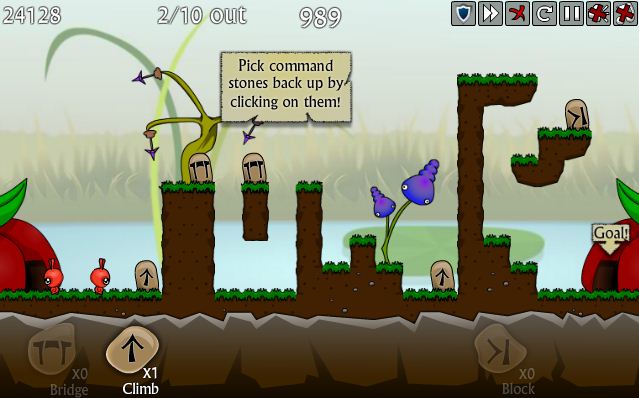
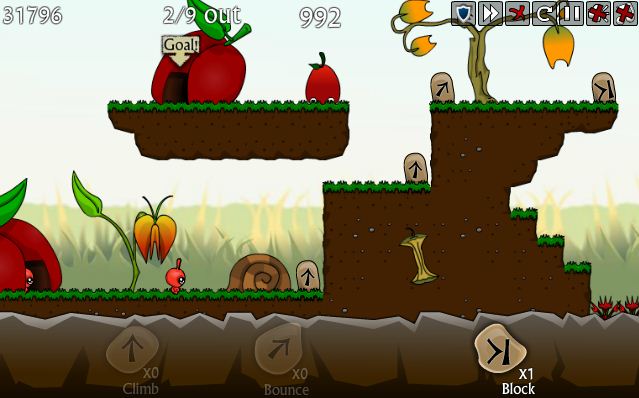
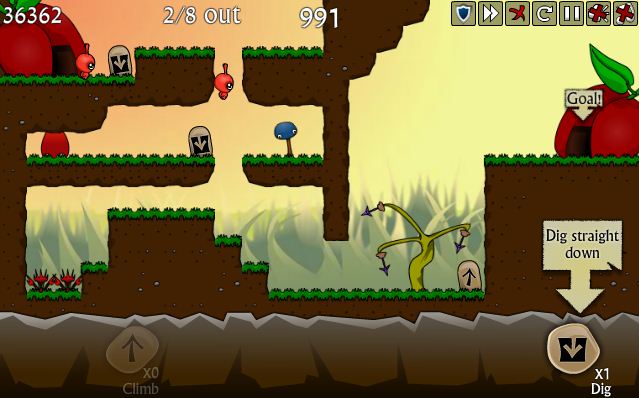
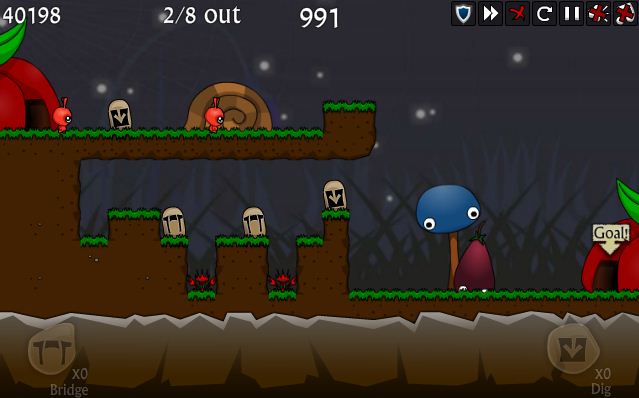
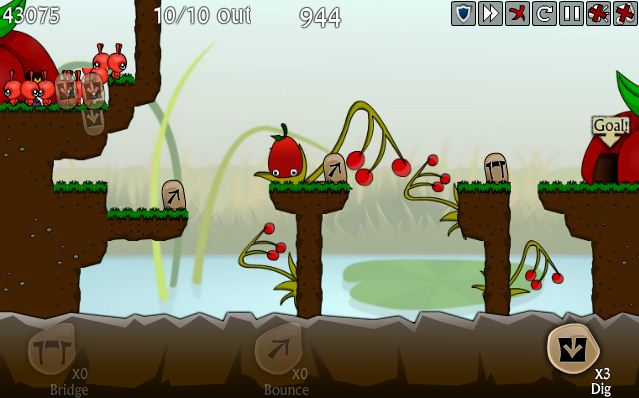
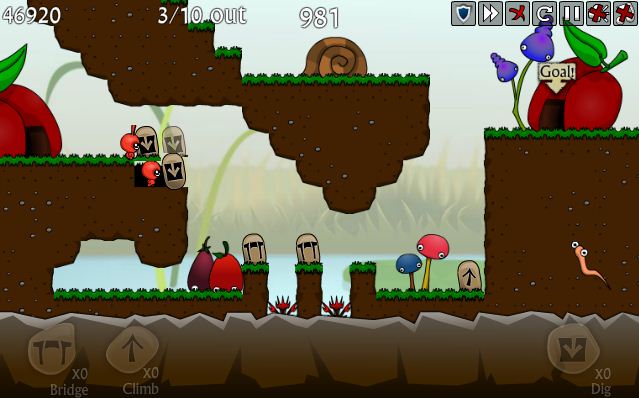
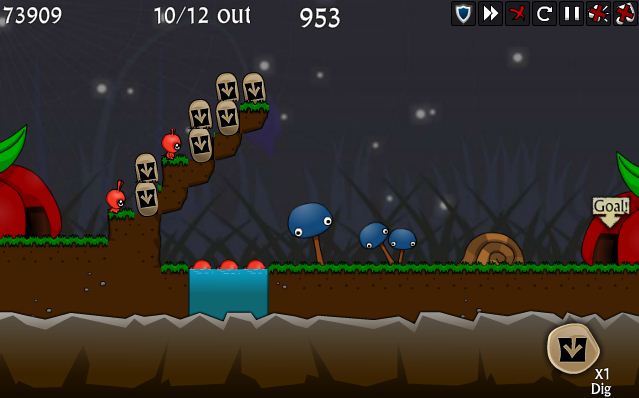
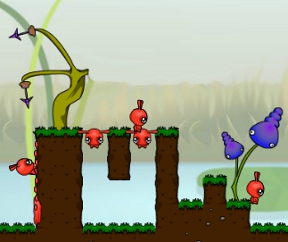 In each level, red ant-like dibble troops will march out of a hut and mindlessly stroll about the stage, stepping right off of cliffs or walking into spikes if they happen to be there. So, being the wise player that you are, you get to save them by sacrificing a few to perform the task of guiding the others. Use totems at the bottom of the screen to teach individual troops to do things like form bridges, block deadly falls, dig through the soil, or splat themselves against the wall so the rest can climb up the side.
If you've ever played Lemmings, you'll feel right at home in Dibbles. The improvements in the control scheme won't go unnoticed, as instead of manipulating troops directly, you place commands on the map itself, which makes so much more sense. The challenge level is fairly average, if a bit low, so don't expect too much hair pulling. What it lacks in difficulty, Dibbles makes up for with crazy feats of selfless sacrifices, all in the name of the king!
Play Dibbles: For the Greater Good (browser version)
NOTE: This game was played and reviewed on a NOOK Tablet. Game was available in the North American market at the time of publication, but may not be available in other territories. Please see individual app market pages for purchasing info.


Walkthrough Guide
(Please allow page to fully load for spoiler tags to be functional.)
Dibbles Walkthrough
Hints
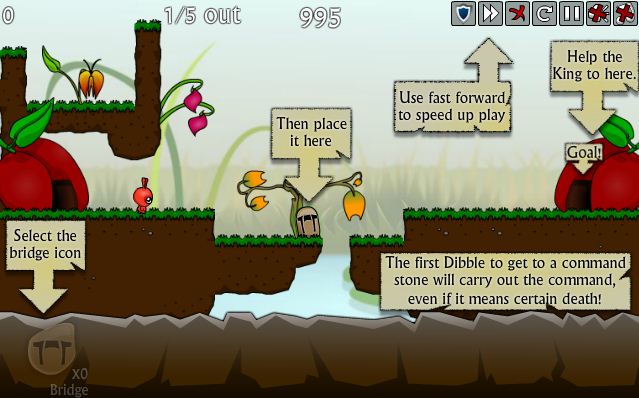
The objective is to save the king. Don't worry about saving Dibbles, but use them smartly. You only get a limited number.
Dibbles that bounce or fall into water will float.
You can place totems on a floating Dibble.
You can assign a task with a totem on the ground or clicking the totem directly on a Dibble.
Not all the items need to be used.
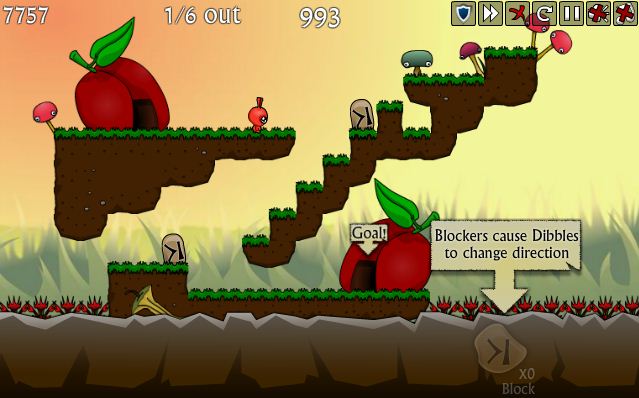
Some levels require you to place a totem beyond the landing zone of a bounce pad.
Levels
Level 1
A simple tutorial. Place the bridge totem where the game indicates.
Solution
Level 2
Place three bridge totems next to each of the thorny gaps.
Solution
Level 3
Use a block totem across the gap.
Solution
Level 4
Use two block totems to redirect the Dibbles, then two bridge totems to cross the gaps.
Solution
Level 5
Use a block totem to redirect the Dibbles, then a climb totem to get them up the cliff.
Solution
Level 6
Place a bridge totem by the gap. Place a climb totem at the bottom of the cliff.
Solution
Level 7
Use a climb totem to get up the cliff, then two bridge totems to cross the gaps. Use another climb totem to get up the second cliff, and a block totem to redirect the Dibbles.
Solution
Level 8
Use two bridge totems to get over the gap, then one bounce totem to get across the big gap.
Solution
Level 9
Use two climb totems to get up the cliffs, then a bounce totem at the top of the cliff. Place a block totem at the far end to redirect the Dibbles.
Solution
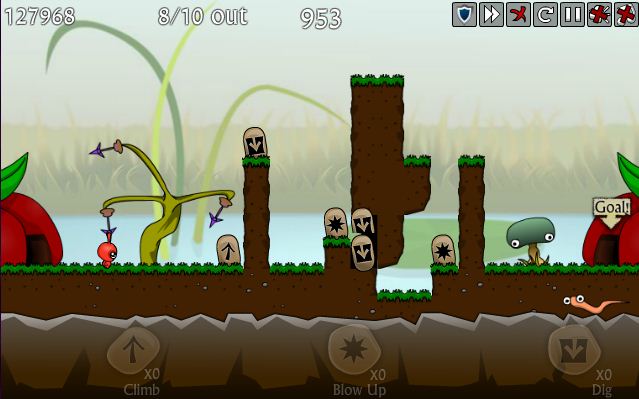
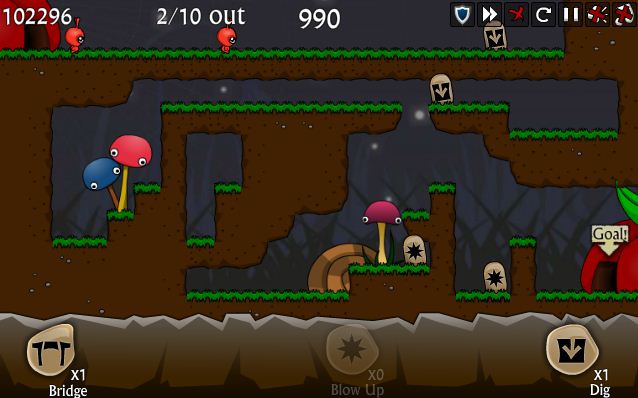
Level 10
Place a dig totem next to the first low cliff, then place another dig totem at the end of the gap in the lower level. Place a climb totem to get up the high cliff.
Solution
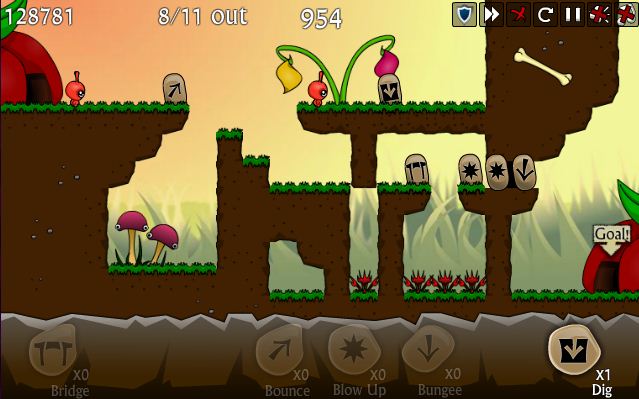
Level 11
Place a dig totem just after the lower area starts. Place two bridge totems to cross the gaps, then another dig totem at the edge past the gaps.
Solution
Level 12
Use three dig totems to dig steps down to the lower level. Then use two bounce totems and a bridge totem to cross the gaps.
Solution
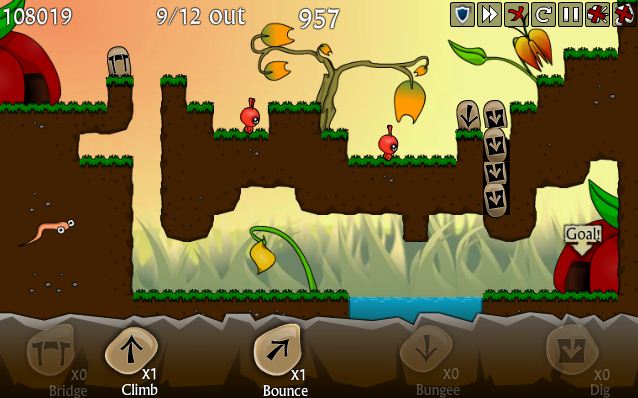
Level 13
Use three dig totems to create steps down, then use two bridge totems to cross the gaps. Use a climb totem to get up the cliff.
Solution
Level 14
Use three float totems and a bounce totem to cross the gap. Place the new totem on top of the floating Dibbles.
Solution
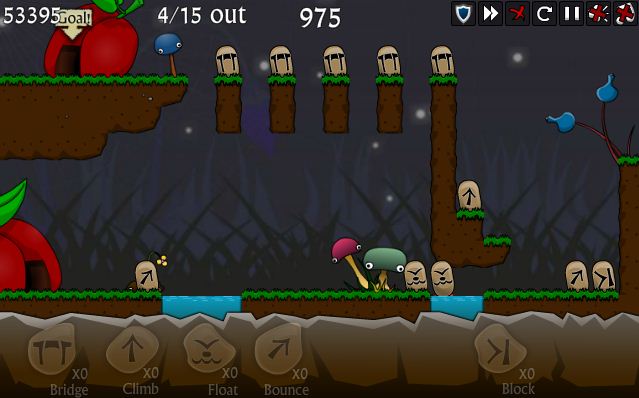
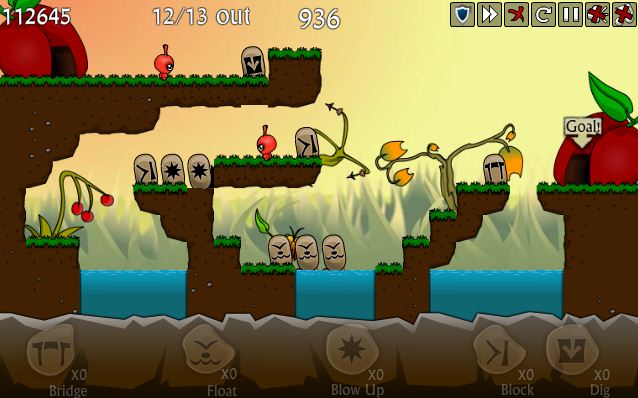
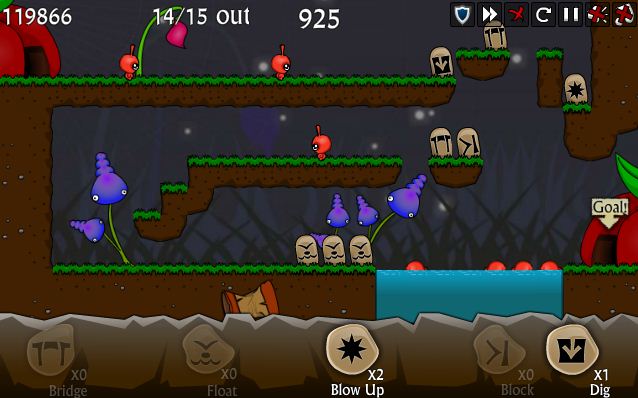
Level 15
Use a bounce totem to cross the first pool and two float totems to cross the second. Please once bounce and one block totems at the bottom edge of the cliff. Place a climb totem at the bottom edge of the higher cliff. Use five bridge totems to cross the gaps at the top.
Solution
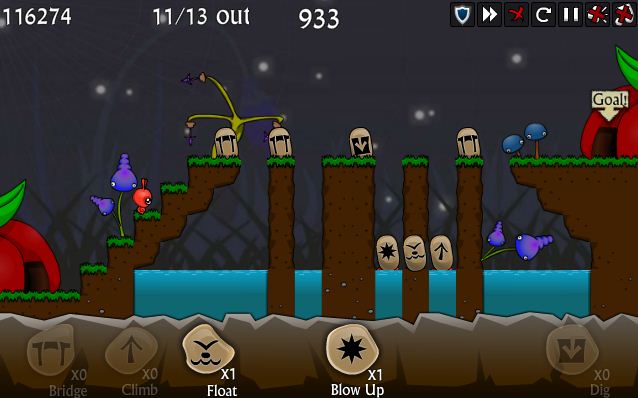
Level 16
Use three dig totems to carve steps. Place a bridge totem next to the bottom gap and use three float totems to cross the water. Place the new totem on top of the floating Dibbles.
Solution
Level 17
Use a climb totem to get up the first cliff, then a bungee totem to go down the other side. Place a bounce totem next to the water.
Solution
Level 18
Use a bungee totem at the edge of the cliff, then a bounce totem. Place a second bounce totem on the floating Dibble (after it uses the bounce pad). Place a third bounce pad on the edge of the small piece of land.
Solution
Level 19
Use a climb totem to get up the cliff, then place a bounce totem in the corner, not next to the edge. Place another jump pad on the edge of the higher cliff. Place a third bounce totem at the right edge of the tall cliff and use a block totem on the third cliff to redirect Dibbles.
Solution
Level 20
This is all about timing. You objective is to fill the bottom lake with three floating Dibbles. Use dig totems to cut away the dirt to allow a Dibble to fall in the right spot. Then use two dig totems to cut steps at the bottom of the incline.
Solution
Level 21
Use a bungee totem to reach the bottom, then place five float totems at the water to cross it. Place the new totem on top of the floating Dibbles. Place a bounce totem on the final floating Dibble.
Solution
Level 22
Use a bounce totem to reach the higher area, then a bungee totem to reach down to the water. Use a float totem on the third Dibble to complete the floating bridge over the water. Use two bounce totems to cross the gaps.
Solution
Level 23
Place a climb totem by the first cliff. At the top, place a dig totem. At the next cliff, place a blow-up totem, then use two dig totems. Use a blow-up totem on the last cliff.
Solution
Level 24
Place a bounce totem at the edge of the cliff. Place a dig totem on the next cliff and a bridge totem next to the gap below. Use two blow-up totems on the far wall, then a bungee totem.
Solution
Level 25
Place two dig totems on the highest area, then use a bungee totem.
Solution
Level 26
Place a bounce totem at the edge of the cliff and a dig totem on the distant outcropping. Use two dig totems before the bounce totem and then place a bounce totem on the lower outcropping.
Solution
Level 27
Place a dig totem at the far end of the top landing. Place a second dig totem against the edge of the gap on the second landing. Use blow-up totems on the two bottom cliffs.
Solution
Level 28
Place a bridge totem by the first gap. Use three dig totems at the bottom of the stairway on the far right, then place a bungee totem.
Solution
Level 29
Use a dig totem on the top landing, then a block totem on the lower landing. Place another block totem at the far left of the lower landing, then use two blow-up totems to tunnel through. Use three float totems at the water and a bridge totem on the final gap.
Solution
Level 30
Use bridge totems to cross the first two gaps. At the third gap place a dig totem. After a Dibble falls into the water, place a blow-up totem. Place a float totem in the new gap and then a climb totem on the floating Dibble. Use a bridge totem at the top gap.
Solution
Level 31
Let a Dibble drop through the top gap, then place a bridge totem there. Place a blow-up totem in the far right top gap. Let a Dibble fall through that gap to float, then place a dig totem at the end of the first landing. After a dibble drops down the right of the lower landing, place a block totem there. Let a Dibble drop down the left of the lower landing, then place a bridge totem. Place three float totems next to the water.
Solution
Level 32
Place a bungee totem at the edge of the first landing. Place a bounce totem on the first pillar of the lower landing. Place a float totem on the floating Dibble and a block totem on the second pillar. Place a bounce totem on the new floating Dibble. Place another float totem on the third floating Dibble. Use a bridge totem to cross the gap and a climb totem next to the cliff.
Solution
Level 33
Place a climb totem next to the cliff. Place a bridge totem next to the gap. Allow a Dibble to drop down the left of the landing below the chute, then place a dig totem on the left edge. After a Dibble drops down again, place a blow-up totem on the left edge. Allow a Dibble to drop off the gap on the right of this landing, then place a dig totem on the right edge. After another Dibble drops down, use a dig totem on the final piece of the landing. Place a blow-up totem on the lower area next to the climb totem. Use another blow-up totem to open the gap to the water. Use a third blow-up totem to open up the final pillar.
Solution
This walkthrough was originally published here. Thanks to James for the walkthrough!
Posted by: Mike |
April 16, 2012 5:31 PM
|
April 16, 2012 5:31 PM